1. Introduction
If you own a VW Passat B8 (or a closely related VW Group model on the MQB platform), you may have heard people talk about “torsion beam” (often casually called a rear torsion bar) versus “multi-link” rear suspension. It’s not just a technical detail—this choice affects ride comfort, cabin noise, handling on rough European roads, tyre wear, and even what repairs cost over the life of the car.
Recommended Tool: Professional OBD2 Scanner
Recommended Tool: OEM Suspension Components
Recommended Tool: Transmission Diagnostic Tools

In simple terms, a torsion beam rear setup uses a single cross-member that connects both rear wheels, while a multi-link design uses several separate arms per wheel to control movement more precisely. Both can be reliable, both can feel good on the road, and neither automatically makes the car “better”—it depends on how you drive, where you drive, and what you expect from your Passat.
🔧 Recommended Professional Tool
DSG Transmission Service KitProfessional tools for DSG gearbox service
✔ Recommended by automotive technicians ✔ Suitable for BMW, Mercedes, VAG & JLR platforms ✔ Fast international shipping
This guide explains how to tell which setup you have, what typically wears out, what you’ll feel when something isn’t right, and what realistic repair costs look like in Europe.
2. Causes
The suspension type itself isn’t a “cause” of problems, but each design has typical wear points driven by the same everyday forces: potholes, speed bumps, kerbs, heavy loads, winter salt, and high-mileage motorway use.
Torsion beam (rear torsion bar/beam) common wear causes
- Rear axle beam bushes: Rubber degrades with age, road salt, and repeated flexing.
- Rear dampers and top mounts: Wear faster on rough roads and with heavy luggage/towing.
- Wheel bearings: Not unique to torsion beams, but often noticed as mileage climbs.
Multi-link common wear causes
- Multiple control arm bushes and ball joints: More parts means more potential wear points.
- Rear toe/camber adjusters and bolts: Can seize due to corrosion, especially in northern Europe.
- Subframe bushes (depending on variant): Rubber can soften or crack, affecting stability.
Powertrain isn’t the main driver here, but heavier engines and frequent high-speed loads can stress rear components. For example, a Passat with a DSG gearbox and a torquey TDI may see more rear suspension “settle” under load than a lighter petrol model, simply because of usage patterns (commuting, towing, long motorway trips).
3. Symptoms
Because the rear suspension influences both comfort and stability, symptoms often show up as “feel” rather than a warning light.
Symptoms more common with torsion beam setups
- Rear-end thump or knock over sharp bumps (often beam bush or damper-related).
- Slight sideways hop when hitting mid-corner bumps.
- Uneven rear tyre wear, especially if the beam is slightly out of alignment after an impact.
Symptoms more common with multi-link setups
- Clunking or creaking at low speed over speed bumps (individual arms/bushes).
- Wandering or needing small steering corrections on the motorway due to rear toe changes.
- Rear tyre inner-edge wear, which can happen if alignment is off or bushes are tired.
Symptoms shared by both
- Increased road noise from the rear
- Reduced comfort over broken surfaces
- “Floaty” feeling after dips (worn dampers)
- Vibration or humming that rises with speed (wheel bearing)
4. How to diagnose
You can do a meaningful first check at home, then confirm with a workshop that has proper lifting equipment and alignment tools. If you’re already plugged in for a service, note that diagnostic platforms like ODIS (VW Group) won’t “tell you” the suspension is worn, but they help rule out related issues (ABS wheel speed sensor faults, adaptive damping faults on equipped cars, etc.).
Step-by-step checks (owner-friendly)
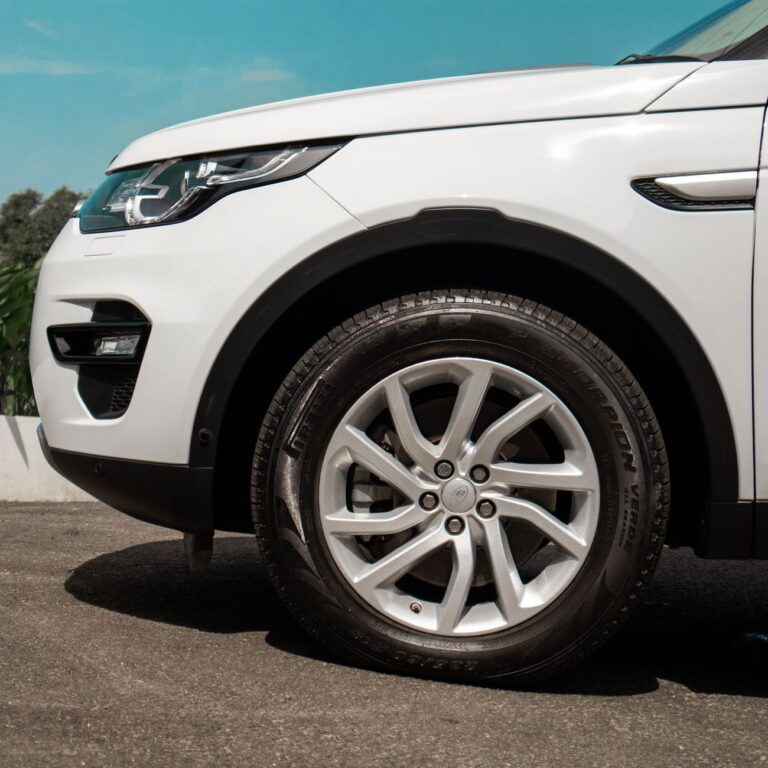
- Identify your rear suspension type
- Look behind a rear wheel:
- Torsion beam: you’ll see a substantial cross-beam connecting left and right.
- Multi-link: you’ll see several separate arms and links per side.
- Look behind a rear wheel:
- Listen and localise
- Drive slowly over a speed bump with windows down. Note whether noise is central (often beam bush/damper) or one-sided (often a single link or mount).
- Tyre wear inspection
- Run your hand over the inner and outer tread edges. Heavy inner-edge wear points to alignment/bushing issues—more typical to notice on multi-link cars.
- Bounce test (basic)
- Push down firmly on the rear corner. If it continues to bounce more than once, dampers may be weak.
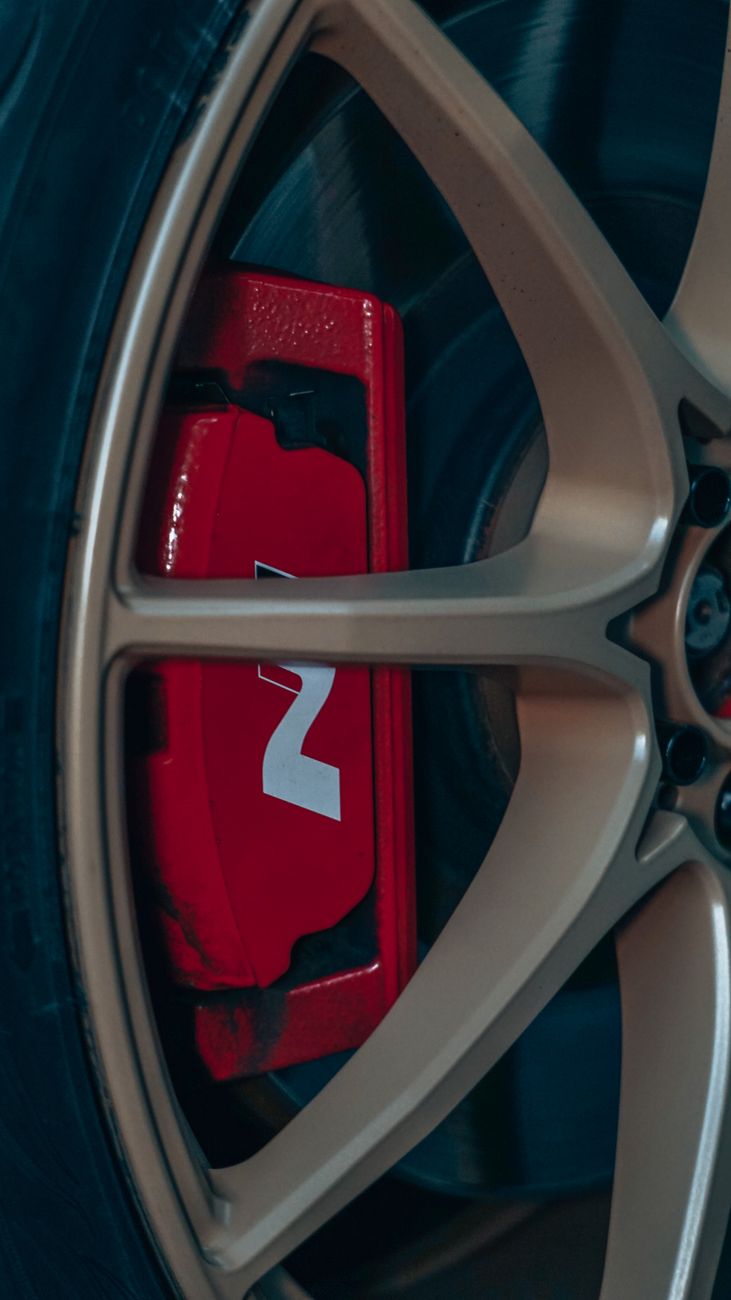
- Professional inspection
- On a lift, a technician checks:
- Play in links/ball joints
- Cracked bushes
- Leaking dampers
- Seized adjusters (multi-link)
- Then perform a 4-wheel alignment; this is especially important for multi-link because toe and camber settings are more adjustable.
- On a lift, a technician checks:
5. How to fix
Fixes depend on what’s worn—not simply whether the car is torsion beam or multi-link.
Torsion beam: typical fixes
- Replace rear beam bushes (if available separately)
Requires pressing tools and careful alignment. This is one of the most common “big” rear-end jobs on beam setups. - Replace rear dampers and mounts
Straightforward and often transforms ride quality. - Wheel bearing replacement
Often a bolt-on hub unit; noise diagnosis is key.
Multi-link: typical fixes
- Replace individual arms/links
Many arms come as complete assemblies with new bushes/ball joints. It’s common to replace a pair on the same axle side, or both sides if wear is similar. - Free up or replace seized adjusters
If toe/camber bolts are seized, labour can jump significantly (cutting/heating may be needed). - Subframe bush replacement (where applicable)
More involved; may require lowering the subframe and then a full alignment.
After any suspension work
- Always get an alignment. Multi-link cars especially can chew through tyres quickly if rear toe is slightly off. Even torsion beam cars benefit from an alignment check after impacts or bush replacement.
6. Repair costs
Costs vary by country, labour rates, and whether you choose OEM, OEM-equivalent, or budget parts. Below are realistic Europe-wide ranges (parts + labour).
Torsion beam (rear beam) estimates
- Rear dampers + top mounts (pair): €250–€650
- Rear beam bushes (pair): €400–€900
(Higher end if labour is difficult or additional hardware is needed.) - Rear wheel bearing/hub (one side): €200–€450
- 4-wheel alignment check/adjust: €90–€180
Multi-link estimates
- Single rear control arm/link (one side): €200–€450
- Multiple links per side (common refresh): €600–€1,200
- Seized adjusters/hardware extra labour: +€100–€400
- Rear dampers + mounts (pair): €300–€800
- 4-wheel alignment (essential): €120–€220
As a point of comparison for owners of other brands: BMW and JLR multi-link setups often have similarly priced arm replacements, while Mercedes models can vary widely depending on options and whether electronic damping is fitted (often diagnosed through Xentry). The principle is the same: more links generally mean more individual wear items, but also more precise alignment control.
7. Prevention tips
- Keep tyres correctly inflated to reduce impact harshness and bush strain.
- Avoid kerbing the rear wheels—it can knock alignment out and stress links.
- Wash the underside in winter if you live in salted-road areas to slow corrosion.
- Do alignment checks every 2–3 years or after a hard pothole strike.
- Don’t ignore early noises—a small worn bush can lead to rapid tyre wear and bigger bills.
8. When to see a mechanic
Book a proper inspection if you notice any of the following:
- Persistent clunking/knocking from the rear over small bumps
- The car feels unstable in crosswinds or during motorway lane changes
- Visible uneven tyre wear on the rear tyres
- Alignment can’t be brought into spec (may indicate bent components or seized adjusters)
- Any sign of leaking dampers
Choose a workshop that can do a full rear suspension inspection and a quality alignment. For VW Group cars, a shop familiar with ODIS and platform-specific suspension layouts will work faster and avoid replacing the wrong parts.
9. Frequently Asked Questions
Frequently Asked Questions
How can I tell if my Passat B8 has torsion beam or multi-link rear suspension?
Look behind the rear wheel: a torsion beam has a large cross-member connecting both sides, while a multi-link setup has several individual arms and links. If you’re unsure, your PR codes (vehicle data sticker) or a dealer can confirm based on VIN. A workshop can also identify it in seconds on a lift.
Is multi-link always more comfortable than a torsion beam?
Not always, but it often handles rough surfaces and mid-corner bumps more smoothly because each wheel moves more independently. Tyre choice and correct damper condition can make a bigger difference than many owners expect. A well-maintained torsion beam car can still ride very nicely.
Does one suspension type cost more to maintain?
Multi-link typically costs more over time because there are more arms, bushes, and joints that can wear. Torsion beam setups have fewer wear items, but beam bushes can be a larger single job when they go. Alignment costs are also more critical for multi-link to protect tyres.
Can worn rear suspension cause uneven tyre wear on the Passat B8?
Yes—worn bushes or links can alter rear toe and camber under load, which quickly wears tyres, especially on the inner edge. This is common on multi-link cars when a link or adjuster is tired or seized. An alignment check after replacing parts is essential.
Should I replace suspension parts in pairs?
For dampers, it’s best practice to replace left and right together to keep handling balanced. For links and bushes, many workshops recommend replacing the same component on both sides if wear is similar. If only one side is damaged from an impact, a targeted repair can be fine, followed by alignment.