1. Introduction
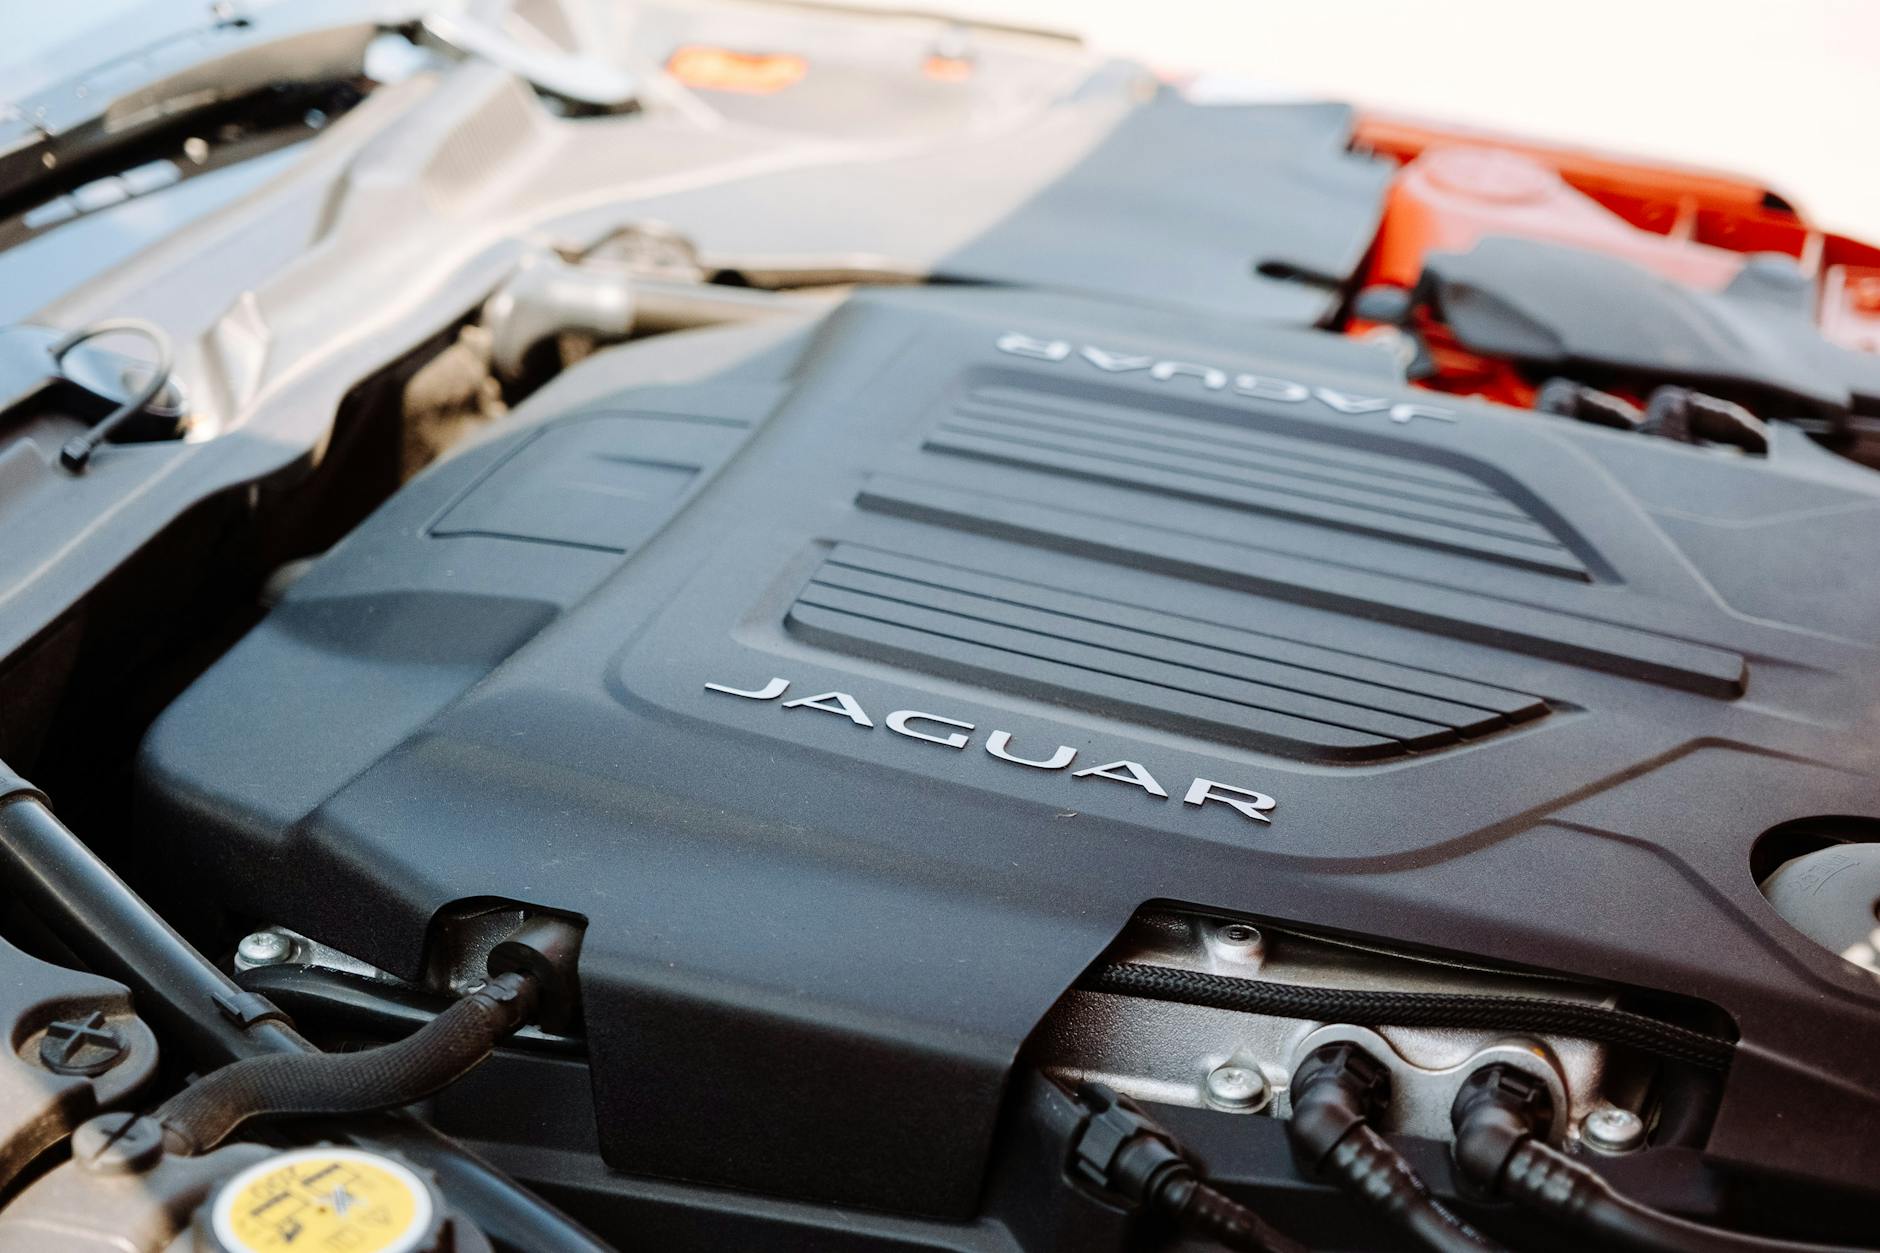
Oil leaks are one of the most common issues that worry Jaguar owners, whether you drive an XF, XJ, XE, F-PACE, E-PACE, or an older X-Type or S-Type. A small leak can look dramatic on a driveway, while a larger leak can quietly lower oil level and risk serious engine damage. The good news is that most oil leaks start as manageable problems—often a gasket or seal that has aged or a part that has loosened over time. The key is recognizing the cause early and responding in a practical, step-by-step way that fits everyday ownership.
Recommended Tool: Professional OBD2 Scanner
Recommended Tool: Premium Brake Pads
Recommended Tool: Cooling System Diagnostic Tools

🔧 Recommended Professional Tool
Cooling System Diagnostic ToolsProfessional coolant tester and infrared thermometer for accurate overheating diagnosis.
✔ Recommended by automotive technicians ✔ Suitable for BMW, Mercedes, VAG & JLR platforms ✔ Fast international shipping
2. Causes
Jaguar engines, like any modern engine, rely on multiple seals, gaskets, and pressurized systems to keep oil inside. Leaks usually happen where rubber hardens, where heat cycles stress a gasket, or where crankcase pressure builds and pushes oil out.
Common leak sources on Jaguar engines
-
Valve cover gasket (cam cover gasket)
Heat and age can flatten the gasket, allowing oil to seep down the side of the engine. On some models, oil can also reach ignition components. -
Oil filter housing or oil cooler seals
Many Jaguars use a housing with seals and O-rings. A hardened seal can leak, and leaks here may run down the engine and mimic other problems. -
Oil pan (sump) gasket or sealant
The pan sits low and sees temperature swings and road debris. Seepage is common as the sealant or gasket ages. -
Front or rear crankshaft seal
These seals sit where the crankshaft exits the engine. When worn, they can leak steadily, sometimes worse at higher RPM. -
Timing cover gasket/sealant
Oil leaks from the front of the engine can originate from the timing cover area, and airflow can spread oil around, making it look worse than it is. -
PCV system issues (crankcase ventilation)
A restricted PCV valve, separator, or breather hoses can increase crankcase pressure. That pressure can force oil past seals and gaskets. -
Turbocharger oil feed/return lines (on turbo models)
If fittings loosen or seals age, oil can leak near the turbo area. Because turbos run hot, leaks here deserve prompt attention. -
Improper oil changes or wrong parts
A double-gasketed oil filter, a mismatched filter, a damaged O-ring, or an overtightened drain plug can cause immediate leaks.
Why leaks can seem “mysterious”
Oil moves. It can drip onto undertrays, follow wiring looms, and spread along engine surfaces. The point where oil ends up is not always the point where it started.
3. Symptoms
Oil leaks don’t always announce themselves with a puddle. Watch for these common signs.
What you might notice day to day
-
Spots or puddles under the car after parking
Fresh oil is usually amber to dark brown. Very dark oil may suggest a long interval since the last change. -
Burning oil smell
Oil dripping onto hot exhaust parts can create a sharp smell, especially after a drive. -
Smoke from the engine bay
Light smoke after stopping can occur when oil hits hot components. This should be taken seriously. -
Low oil level warnings or needing frequent top-ups
If you add oil regularly between services, assume a leak or oil consumption issue until proven otherwise. -
Oily residue on the engine or underside
A damp, grimy coating around the valve cover, oil filter area, or pan edge often points to seepage. -
Misfires or rough running (sometimes)
If oil leaks into areas near ignition components, it can contribute to drivability problems, depending on the engine design.
4. How to diagnose
You don’t need to be a mechanic to narrow down the source. You do need patience, good lighting, and a methodical approach.
Step-by-step checks for owners
-
Confirm it’s engine oil
- Check the fluid on a white paper towel.
- Engine oil usually feels slick and is amber to brown/black.
- If it’s red or green/orange, it may be transmission fluid or coolant—different problem, different urgency.
-
Check the oil level correctly
- Park on level ground and follow your model’s procedure (dipstick or electronic level).
- If the level is dropping, don’t delay. Low oil can damage an engine quickly.
-
Look from the top first
- Use a flashlight around the valve cover edges, oil filler cap area, and the oil filter housing.
- Fresh wetness near a seam is more meaningful than old, dusty grime.
-
Look from below safely
- Avoid crawling under a car supported only by a jack.
- If you can see under the front bumper, look for wet areas around the oil pan and where the transmission meets the engine (rear main seal area).
-
Check after a short drive
- Some leaks only appear when oil is hot and thin or when the engine is under pressure.
- Park on clean cardboard overnight to see drip location patterns.
-
Rule out simple causes
- Make sure the oil filler cap is tight and the dipstick is fully seated (if equipped).
- If the leak started right after an oil change, suspect the filter seal, drain plug, or a missing/damaged washer.
Helpful diagnostic tools (optional)
- UV dye and UV flashlight: A shop can add dye to the oil to pinpoint the exact source. It’s one of the fastest ways to stop guessing.
- Brake cleaner and re-check: Cleaning a small area and rechecking after a drive can reveal the first wet spot—but use caution and avoid hot surfaces.
5. How to fix
Fixing an oil leak ranges from a quick seal replacement to more involved work. For most owners, the goal is understanding what’s likely required and how urgent it is.
Common fixes you may hear quoted
-
Replace valve cover gasket
- Often a straightforward repair.
- If oil has contaminated nearby components, the area may need cleaning and inspection.
-
Replace oil filter housing/oil cooler seals
- Usually involves new O-rings or gaskets.
- The area should be cleaned afterward so you can confirm it’s resolved.
-
Reseal or replace the oil pan gasket/sealant
- Can be moderate labor depending on model and clearance.
- Important to inspect for damage to the pan or stripped threads at the drain plug.
-
Replace front or rear crankshaft seal
- Front seal is often simpler than rear.
- Rear main seal leaks can require significant labor because of transmission access.
-
Repair PCV system
- Replacing a stuck valve, separator, or cracked hose can reduce crankcase pressure and prevent repeat leaks.
- This is especially important if multiple seals seem to be weeping.
-
Turbo oil line seals or fittings (turbo models)
- Heat shielding, tight spaces, and high temperatures make correct installation important.
- Leaks near the turbo should be addressed promptly.
What not to rely on
- Stop-leak additives can sometimes swell seals temporarily, but they can also create new problems and rarely solve the real cause. They’re not a good long-term plan for a Jaguar engine.
6. Prevention tips
Oil leaks are often age-related, but good habits can slow them down and help you catch issues early.
Practical habits that help
-
Check oil level regularly
- Monthly is a good baseline; more often if you drive hard or take many short trips.
-
Use the correct oil specification
- Jaguars can be sensitive to oil type. Using the right spec helps lubrication and can reduce deposits that affect ventilation systems.
-
Don’t stretch oil change intervals
- Old oil carries more contaminants and can accelerate gasket and PCV issues.
-
Inspect after every service
- After an oil change, look for drips for a few days.
- Re-check the area around the filter housing and drain plug.
-
Keep the engine bay reasonably clean
- You don’t need a showroom engine, but removing heavy grime makes it easier to spot new leaks early.
-
Address PCV-related symptoms quickly
- Whistling noises, rough idle, or unusual pressure when removing the oil cap can hint at ventilation issues.
7. When to see a mechanic
Some oil leaks are minor, but the risk comes from not knowing which is which. A professional inspection is the safest choice when any of the following apply:
- The oil level drops noticeably between checks or you get a low-oil warning.
- You see smoke or smell burning oil, especially after driving.
- Oil is dripping onto the ground consistently, not just a faint damp spot.
- The leak is near the turbocharger or exhaust components (higher fire risk and faster oil burn-off).
- There’s oil around the timing cover or rear main seal area, where repairs can be more involved and misdiagnosis is costly.
- The leak started after a service, and tightening “a little more” could make it worse (stripped threads, crushed seals).
- You can’t confidently identify the fluid or the leak location.
A good shop will clean the area, verify the source (often with dye), and give you a clear plan: what must be repaired now, what can be monitored, and what additional parts (like PCV components) should be addressed to prevent the leak from returning. Catching an oil leak early is almost always cheaper than waiting for low oil, damaged rubber parts, or oil-soaked components to create bigger problems.