1. Introduction
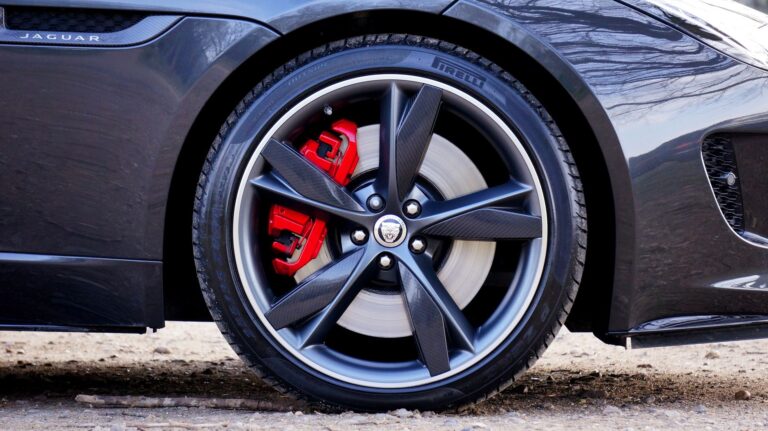
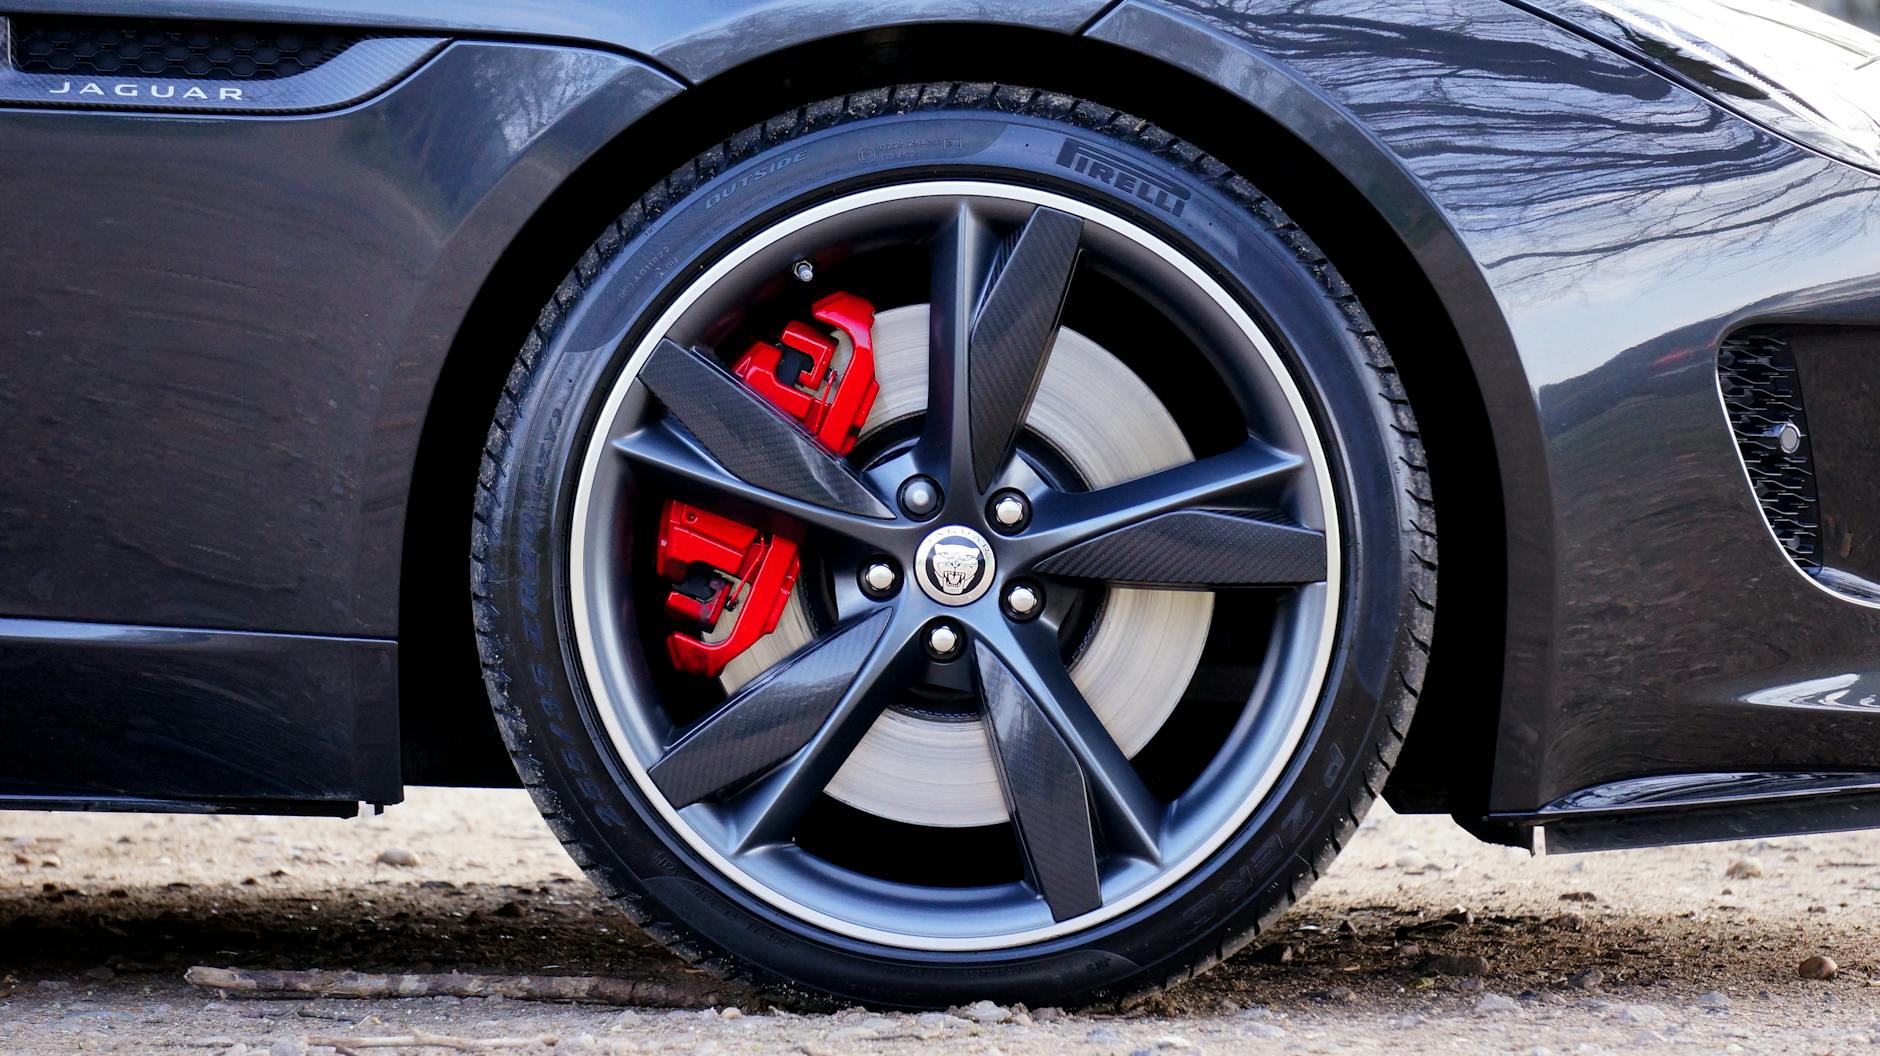
Upgrading the brakes on a Jaguar F-Type X152 3.0 V6 can be one of the most satisfying “feel” improvements you can make—shorter stopping distances, better pedal confidence on mountain roads, and less fade on repeated hard stops. But it’s also an area where assumptions quickly get expensive. Unlike pads and discs that simply match sizes, performance brake upgrades involve caliper mounting points, disc offsets, hub centring bores, wheel clearance, brake bias, and electronic compatibility with ABS/ESC.
Recommended Tool: Professional OBD2 Scanner
Recommended Tool: Premium Brake Pads
Recommended Tool: Portable Jump Starter
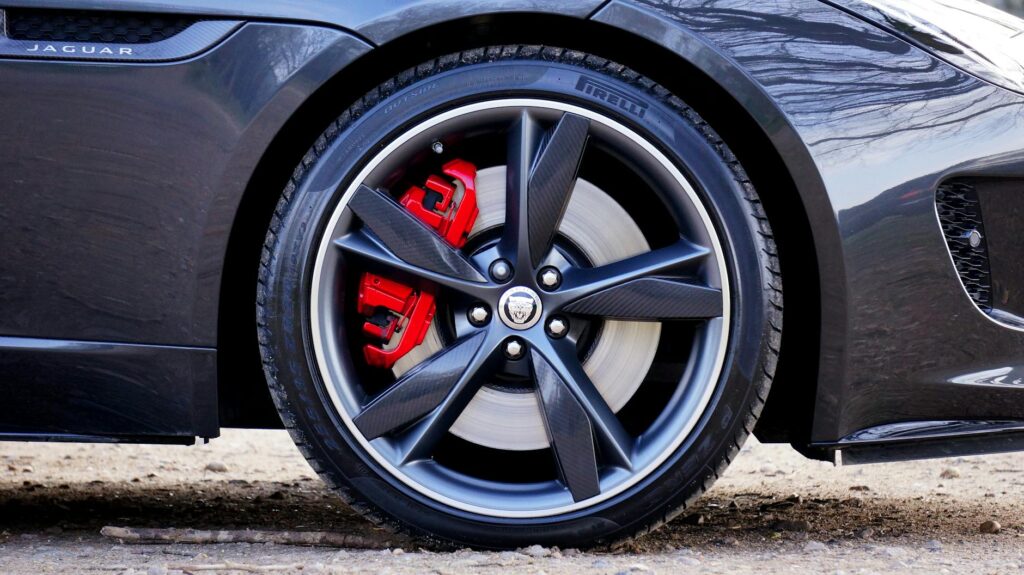
This guide is written for everyday European car owners—whether you also run a BMW with a ZF 8HP, an Audi with DSG, or a Mercedes with OM651—who want a clear answer to “what fits and what doesn’t” on the F-Type X152 3.0 V6. We’ll focus on realistic upgrade paths, pitfalls to avoid, how to diagnose compatibility issues, and what a sensible budget looks like in Europe.
🔧 Recommended Professional Tool
Mercedes OM651 Diesel ToolsAdvanced diesel diagnostic tools for OM651
✔ Recommended by automotive technicians ✔ Suitable for BMW, Mercedes, VAG & JLR platforms ✔ Fast international shipping
2. Causes
People usually pursue a brake upgrade for practical reasons, but problems start when the upgrade is chosen for the wrong cause:
- Brake fade on spirited driving: The standard setup can overheat on repeated hard stops, especially with road pads.
- Warped-feel braking (often disc pad deposits, not true warping): Heat management and pad material matter.
- A “long” or soft pedal: Can be fluid boiling, old hoses, or air trapped after pad swaps.
- Aesthetic motivation (big calipers behind wheels): This often drives risky “parts-bin” swaps that don’t truly fit.
On the F-Type, the main “fit” confusion is between:
- Different F-Type brake packages (base vs Performance vs R/SVR)
- Jaguar XF/XJ parts that look similar but don’t share offsets/mounting
- Aftermarket “Brembo-style” kits with incorrect disc hat height or caliper bracket geometry
3. Symptoms
A brake upgrade that doesn’t fit correctly (or is mismatched) tends to show up quickly:
- Steering wheel shake under braking (often pad deposits from improper bedding or disc misalignment)
- Grinding or scraping (disc contacting dust shield, pad overhang, or caliper bracket interference)
- Uneven pad wear (caliper not centred on disc, wrong disc offset/hat height)
- ABS/DSC warnings after work (wheel speed sensor disturbed, low voltage during bleeding, or incorrect coding after module replacement)
- Wheel won’t rotate freely after installation (caliper fouling the wheel barrel/spokes)
- Poor pedal feel even after bleeding (air trapped, wrong bleed procedure, or fluid overheated)
4. How to diagnose
Before buying parts, diagnose what you have and what you need. The goal is to confirm the current brake package and the constraints.
Identify the existing hardware
Check:
- Caliper type and piston count (often stamped or visually identifiable)
- Disc diameter and thickness (measure with a tape/caliper; note if vented)
- Disc hat height/offset (critical for centring the caliper)
- Wheel size and spoke/barrel clearance (19" vs 20" matters more than people think)
Confirm with vehicle data and diagnostics
If you have access to JLR diagnostics:
- SDD (older) or Pathfinder (newer) can confirm build spec and brake option codes, and guide bleeding routines if you open the hydraulic system.
- Check for stored faults in ABS/DSC after any brake work; even a low battery during service can log undervoltage faults.
Fitment checks that prevent costly mistakes
- Mounting ear spacing and bolt size: Calipers that “almost” line up are not a fit.
- Disc centre bore: Must match hub or be correctly hub-centric with quality rings.
- Pad swept area: Pad must fully contact the disc face; overhang causes lip formation and noise.
- Brake bias sanity check: Oversizing the front only can trigger early ABS intervention and unstable braking.
5. How to fix
There are three sensible upgrade levels, depending on your goal and budget.
Level 1: High-value upgrades that always “fit”
These retain stock calipers and focus on heat capacity and feel:
- Quality performance pads (fast road compounds)
- High-boiling-point brake fluid (DOT 4 racing-type for heat resistance)
- Good discs (OEM-quality, or reputable aftermarket; drilled discs look nice but can crack if abused)
This is the best route if your car is mainly road-driven and you want less fade without fitment drama.
Level 2: OEM+ upgrade using F-Type Performance components
If you want the “Performance Brake Upgrade” feel, the most reliable approach is to use the correct F-Type Performance calipers/discs/pads as a matched set. What usually fits is what was designed for the same X152 platform and hub geometry, but you must match:
- Front calipers + correct brackets (if applicable)
- Correct disc diameter/thickness and hat offset
- Correct pads for that caliper
- Minimum wheel size/shape required for caliper clearance
What often doesn’t fit, even if it looks close:
- Discs from other JLR models with the same diameter but different offset
- Calipers from heavier JLR vehicles where the mounting points differ
- “Upgraded” calipers paired with stock discs (caliper won’t centre, pad won’t sweep correctly)
Level 3: Aftermarket big brake kit (BBK)
A proper BBK from a known manufacturer includes calipers, brackets, discs with the right hat height, pads, and often braided lines. This is the right choice for repeated high-speed braking, trackdays, or heavily tuned cars.
Key points for everyday owners:
- Choose kits that retain parking brake compatibility (rear upgrades can complicate this).
- Confirm wheel template clearance before ordering; a 20" wheel can still foul if the spokes curve inward.
- Plan for pad availability and noise; some track-oriented pads squeal on the street.
Don’t forget the “supporting” work
No brake upgrade works well if the basics are neglected:
- Fresh fluid and correct bleeding routine (use SDD/Pathfinder bleeding where required)
- Inspect flexible hoses, pad hardware, slider pins (if sliding calipers), and hub face corrosion
- Correct bedding-in procedure to avoid uneven deposits that feel like warped discs
6. Repair costs
Costs vary by country and brand choice, but these ranges are realistic for Europe (parts + labour):
- Pads + fluid (stock calipers, fast road pads): €250–€550
(Pads €120–€300, fluid €20–€40, labour 1.0–1.5 hrs) - Discs + pads (front axle, OEM-quality): €550–€1,050
(Discs €250–€600, pads €120–€300, labour 1.5–2.5 hrs) - OEM+ Performance brake conversion (front axle, used/new mix): €1,200–€2,500
(Calipers vary widely, discs/pads add cost; labour 2.5–4.0 hrs) - Full BBK front kit installed: €2,800–€5,500
(Kit €2,200–€4,500, labour 2.5–4.0 hrs, plus fluid) - ABS/DSC fault diagnosis after brake work: €80–€180
(Scan + road test; more if wiring/sensors are damaged)
Budget extra if you need new wheels/spacers for clearance—spacers can solve spoke contact, but they introduce their own considerations (hub-centric fit, bolt length, and potential bearing load).
7. Prevention tips
- Choose matched systems: Caliper, disc, pad, and bracket should be engineered to work together.
- Clean the hub faces: Rust between hub and disc causes runout and vibration.
- Use correct torque and sequence: Wheel bolts unevenly torqued can mimic warped discs.
- Refresh fluid regularly: Every 2 years, or annually if you drive hard in the Alps or tow.
- Bed pads correctly: Most “warped disc” complaints after upgrades are uneven pad deposits.
- Check wheel clearance before ordering: Ask for a printable caliper template from the supplier.
8. When to see a mechanic
See a specialist (preferably one familiar with JLR and able to use SDD/Pathfinder) if:
- You’re changing calipers/brackets and are not 100% sure about disc offset and centring
- You have ABS/DSC warnings after the job or the pedal feels inconsistent
- The car pulls under braking, or you see uneven pad wear within a few hundred kilometres
- You need brake bleeding routines that may require diagnostic activation
- You’re mixing parts from different models or considering spacers to clear wheels
A good independent workshop will measure runout, verify caliper alignment, and confirm road behaviour—saving you from repeated parts swapping.
9. Frequently Asked Questions
Frequently Asked Questions
Will Jaguar F-Type R or SVR brakes fit my X152 3.0 V6?
Sometimes, but not as a simple bolt-on swap. The caliper mounts, disc sizes, disc offsets, and wheel clearance requirements can differ, and mixing components often causes centring issues. Treat it as a full system conversion with verified part numbers and wheel templates.
Can I upgrade to bigger front brakes and leave the rear stock?
Yes, but it’s not always ideal. A large front-only increase can change brake balance and trigger earlier ABS intervention, especially in wet conditions. For fast road driving, pads/fluid/discs on all four corners often give a better overall result.
Do I need coding or diagnostics after a brake upgrade?
Usually no for pads and discs, but diagnostics are helpful. If you open the hydraulic system or the pedal feel is not right, SDD/Pathfinder-guided bleeding can make a noticeable difference. Also scan for ABS/DSC faults if any warning lights appear after work.
Why do my new performance brakes vibrate even with new discs?
The most common cause is uneven pad material transfer due to incorrect bedding-in or overheating early in the pad’s life. Hub corrosion causing disc runout is another frequent culprit. A workshop can measure runout and advise whether rebedding or disc machining/replacement is needed.
What wheel size do I need for the Performance Brake Upgrade?
Wheel diameter alone isn’t enough; spoke shape and inner barrel clearance are critical. Some 19" wheels clear certain performance calipers, while some 20" designs still foul. Always check a caliper clearance template against your exact wheel design before buying parts.